
Drilling into a plaster brick partition is not prepared in the same way as drilling into poured concrete. The success of DIY projects at home relies less on the number of tools purchased and more on understanding the materials involved and the regulatory constraints that are often overlooked.
Asbestos Control and Diagnosis Before Drilling in Old Buildings
Any DIYer working in a home built before July 1997 must consider asbestos before drilling, sanding, or demolishing. Materials that may release fibers (vinyl floor tiles, tile adhesives, asbestos cement ducts, spray insulation) must be identified before any mechanical intervention.
We recommend consulting the technical asbestos diagnosis of the property, which is mandatory for common areas and during sales. If this document is not available, never sand or cut a suspicious material without prior analysis. A sampling kit sent to a laboratory costs little compared to health risks.
Asbestos waste must never be mixed with ordinary rubble. Waste disposal sites often require an appointment, waterproof packaging, and a volume limit. The procedures vary from one community to another, making it necessary to check with the local waste disposal site before starting the project. An informed DIYer will find useful guidelines on the Bricolage En Tout Genre website to frame their home projects in advance.
Sorting Construction Waste and REP System: What Changes for DIYers

Since the deployment of the REP (extended producer responsibility) system for construction products and materials, distributors can take back certain construction waste for free. The condition: waste must be sorted by categories (wood, plaster, metals, plastics, glass, mineral fractions).
A bag containing a mix of rubble, plaster, and wood will be refused. We observe that most DIYers learn this at the time of disposal, after having thrown everything into the same bin.
- Separate plaster (BA13 boards, filler) from mineral fractions (bricks, concrete, tiles) from the demolition phase, using distinct bags.
- Isolate metals (copper pipes, screws, drywall tracks) in a dedicated container: their recovery value is the highest.
- Store treated wood (varnished paneling, melamine boards) separately from raw wood, as their recycling stream differs.
Planning the sorting from the start of the project avoids a tedious sorting session at the end of the work. Three bins or bags of rubble are sufficient to cover the most common categories of an interior project.
Ventilation and Insulation: The Most Common Technical Trap in Renovation
Insulating without addressing air renewal degrades the home instead of improving it. Strengthening the airtightness of a room (installing double-glazed windows, insulating lining, sealing shutter boxes) reduces unwanted air infiltration that provided, by default, minimal ventilation.
The result: condensation on residual cold walls, mold growth behind furniture, degradation of woodwork. We recommend systematically checking the state of the mechanical ventilation system (VMC) before any insulation work. A single-flow VMC with clogged extraction vents is no longer sufficient once the building envelope becomes more airtight.
Checkpoints Before Interior Insulation
- Test the extraction flow of the VMC by bringing a piece of paper close to the vents: if the paper does not hold, the unit needs to be cleaned or replaced.
- Check for air inlets on the joinery (high strips). If the new windows lack them, add them before installing the insulation.
- In the absence of a VMC, at least provide high and low ventilation grilles in each wet room, sized according to the volume of the room.
A high-performance insulation installed in a poorly ventilated home concentrates moisture instead of managing it. The insulation-ventilation pair must always be treated simultaneously, never one without the other.
Choosing the Drill Bit and Adjusting the Drill According to the Material
The majority of failed drillings come from a mismatch between the drill bit and the material. Drilling reinforced concrete with a wood bit only produces a chipped hole and a destroyed bit. The reverse (concrete bit in wood) causes splintering on exit and an oversized hole.
Matching the drill bit to the material is the most cost-effective rule in DIY. A SDS+ concrete bit with a carbide tip can penetrate poured concrete, but percussion must be disabled to drill a hollow brick to avoid shattering it. The percussion mode remains reserved for solid materials: concrete, stone, solid blocks.
Rotation Speed Guidelines
Softwood and plasterboard accept a high speed. Ferrous metals require a slow speed and lubrication (cutting oil or even cooking oil in an emergency). Ceramic tiles require a diamond bit, moderate speed, and water cooling to prevent overheating that destroys the diamond coating.
Before each drilling, lightly tap the surface with the back of a screwdriver. A hollow sound indicates a lightweight partition or a hollow brick. A dull and muffled sound indicates a solid material. This quick test guides the choice of drill bit and the percussion setting.
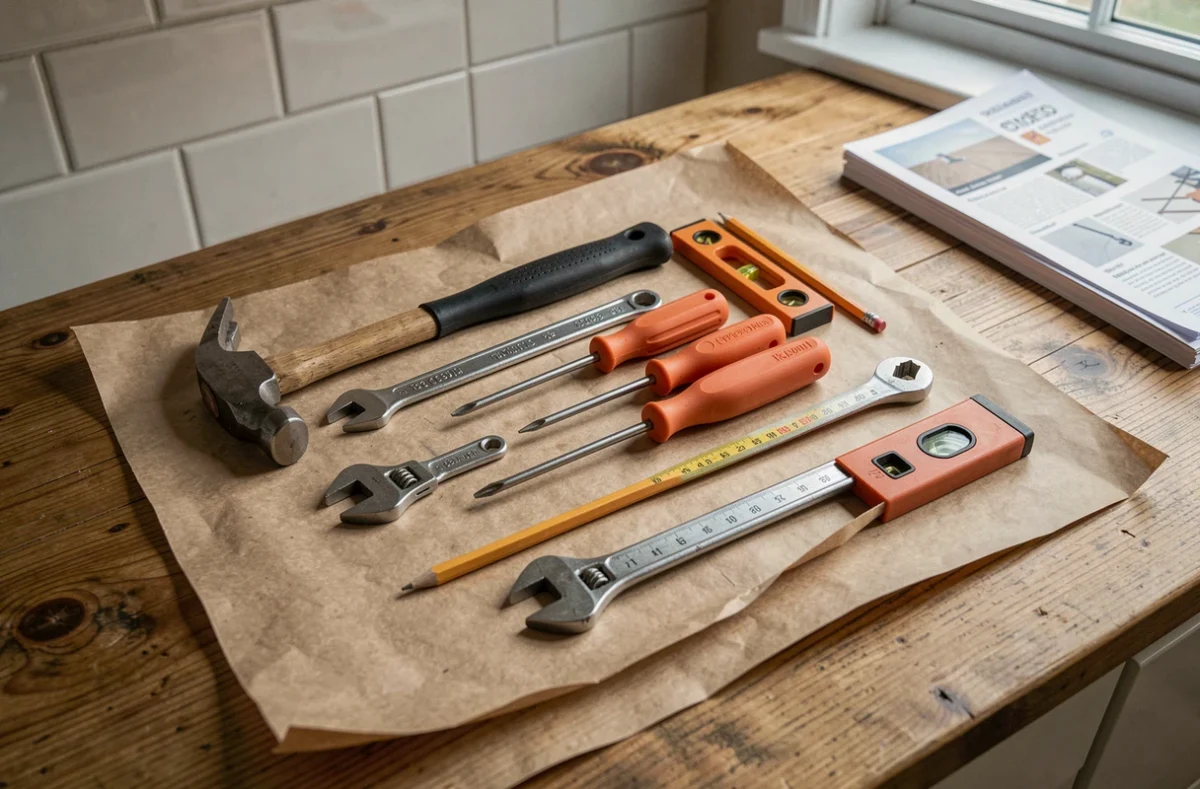
Successfully completing DIY projects relies on three technical decisions made before touching a tool: identifying the materials present, checking the regulatory constraints of the building, and planning waste management from the first strike of the hammer. The rest follows naturally.